Task 1: Detection & mapping
We will use the OFO's Tree Detection Framework to detect and delineate tree crowns from drone-derived data products using a variety of approaches, including a geometric algorithm applied to a canopy height model (CHM) and several different computer vision algorithms applied an orthomosaic.
Required input data
| Name | Source | Example file |
|---|---|---|
| Canopy height model | Photogrammetry post-processing | composite1_chm-mesh.tif |
| Orthomosaic | Photogrammetry post-processing | composite1_ortho-dsm-ptcloud.tif |
Setup
Before you begin
Make sure you have gone through the OFO tutorial preparation guidance.
Follow our Docker guide to understand what Docker is and ensure your system is set up to run Docker containers.
TODO: Link to the notebook we will be using, info to set up Conda env as for the other Python options?
Install the Tree Detection Framework Python library and its dependencies into a Conda environment following the installation instructions, then activate the Conda environment in a terminal window:
{TODO: To the TDF install instructions, add a mention of the need to install Conda, and link to Conda install instructions instructions (ideally miniconda?). Consider using venv instead, since already included with python? Unless other OFO packages do require conda. Alternatively, consider adding Conda install info/link to the tutorials overview page.}
Install the Tree Detection Framework Python library and its dependencies into a Conda environment following the installation instructions.
Then load the required libraries:
Geometric tree detection from a canopy height model
First, we will use a geometric algorithm implemented in the Tree Detection Framework to detect treetops as local maxima in the canopy height model (CHM). This approach uses a variable-radius local maximum filter. We will demonstrate with the CHM linked above:
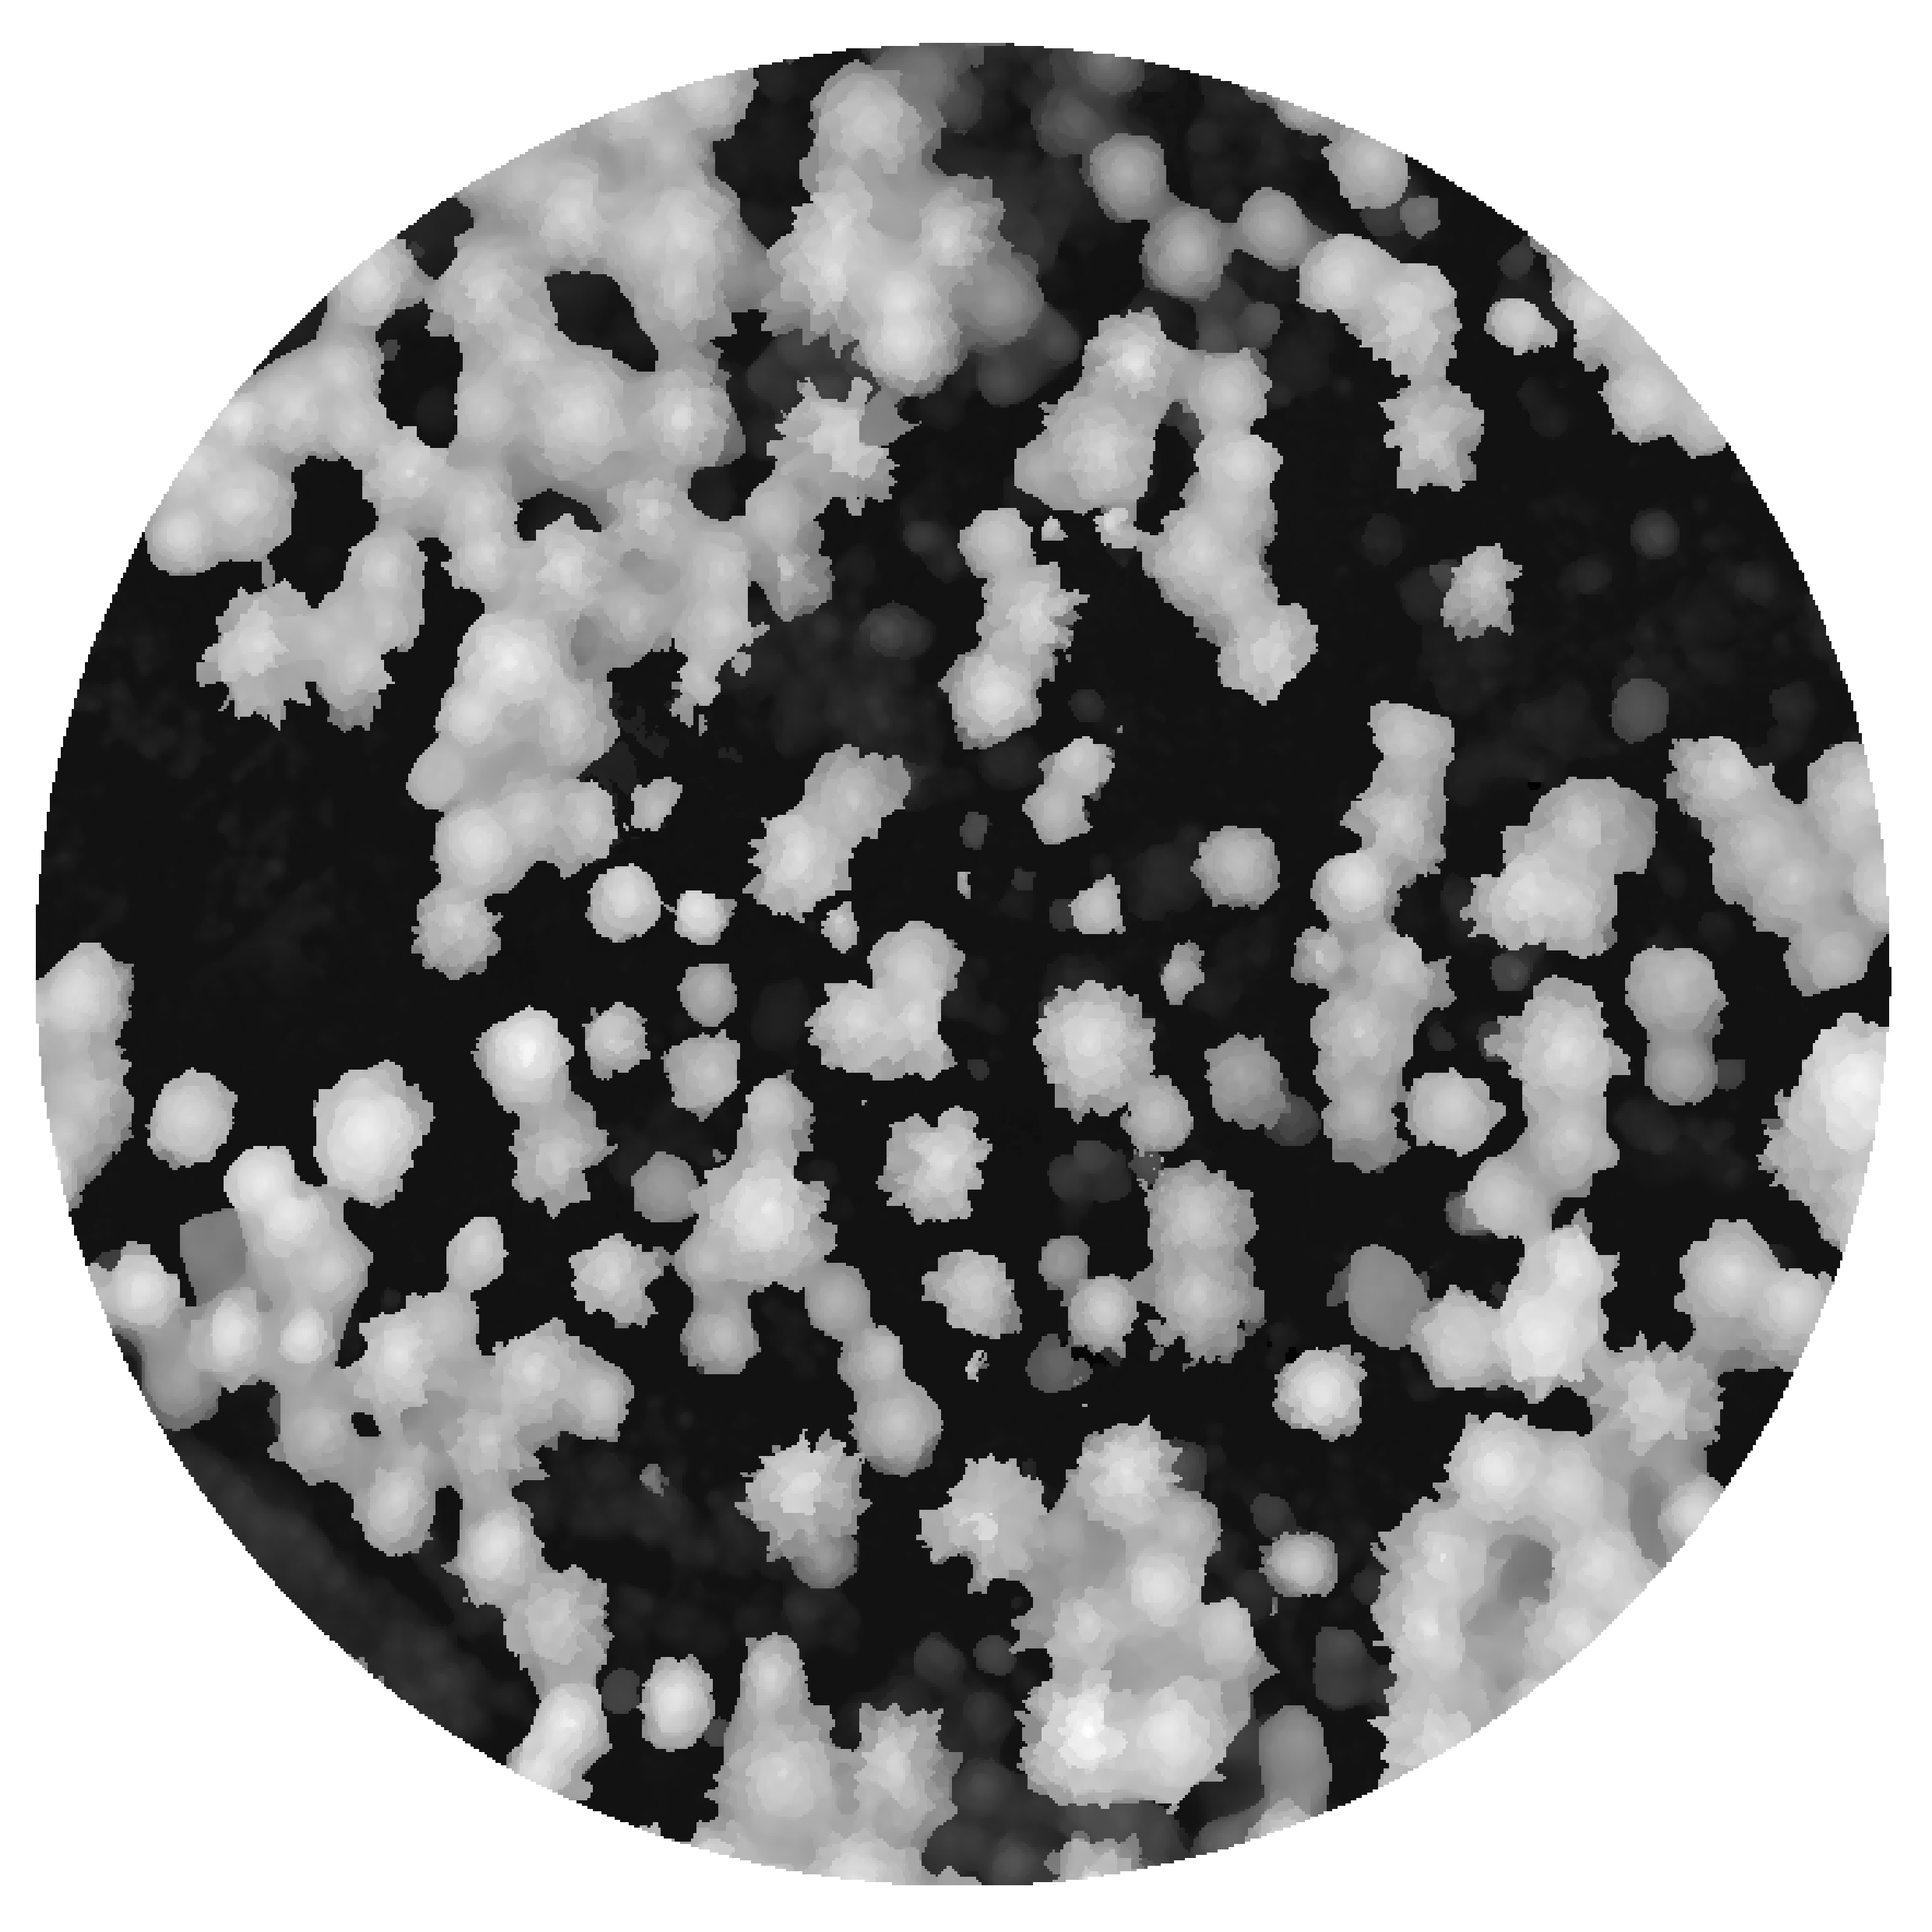
TODO: More context?
Linux/Mac:
docker run --rm --user "$(id -u):$(id -g)" \
    -v "path/to/data:/data" \
    ghcr.io/open-forest-observatory/tree-detection-framework:latest \
    python -m tree_detection_framework.entrypoints.detect_geometric_two_stage \
        /data/inputs/photogrammetry-postprocessed/full/composite1_chm-mesh.tif \
        /data/outputs/detected-trees/composite1_tree-tops_geometric_v01.gpkg \
        --tree-crowns-save-path /data/outputs/detected-trees/composite1_tree-crowns_geometric_v01.gpkg \
        --raster-blur-sigma 0.5 \
        --tree-top-detector-kwargs '{"a": 0, "b": 0.0325, "c": 0.25, "min_ht": 5}'
Windows:
docker run --rm `
    -v "path\to\data:/data" `
    ghcr.io/open-forest-observatory/tree-detection-framework:latest `
    python -m tree_detection_framework.entrypoints.detect_geometric_two_stage `
        /data/inputs/photogrammetry-postprocessed/full/composite1_chm-mesh.tif `
        /data/outputs/detected-trees/composite1_tree-tops_geometric_v01.gpkg `
        --tree-crowns-save-path /data/outputs/detected-trees/composite1_tree-crowns_geometric_v01.gpkg `
        --raster-blur-sigma 0.5 `
        --tree-top-detector-kwargs '{\"a\": 0, \"b\": 0.0325, \"c\": 0.25, \"min_ht\": 5}'
This step is performed by lines XX-YY (TODO) of the Jupyter notebook {TODO: Link to notebook}.
python -m tree_detection_framework.entrypoints.detect_geometric_two_stage \
    path/to/data/inputs/photogrammetry-postprocessed/full/composite1_chm-mesh.tif \
    path/to/data/outputs/detected-trees/composite1_tree-tops_geometric_v01.gpkg \
    --tree-crowns-save-path path/to/data/outputs/detected-trees/composite1_tree-crowns_geometric_v01.gpkg \
    --raster-blur-sigma 0.5 \
    --tree-top-detector-kwargs '{"a": 0, "b": 0.0325, "c": 0.25, "min_ht": 5}'
This command saves two geospatial output files: points representing detected tree tops and polygons representing detected tree crowns. You can visualize these outputs in GIS software like QGIS:
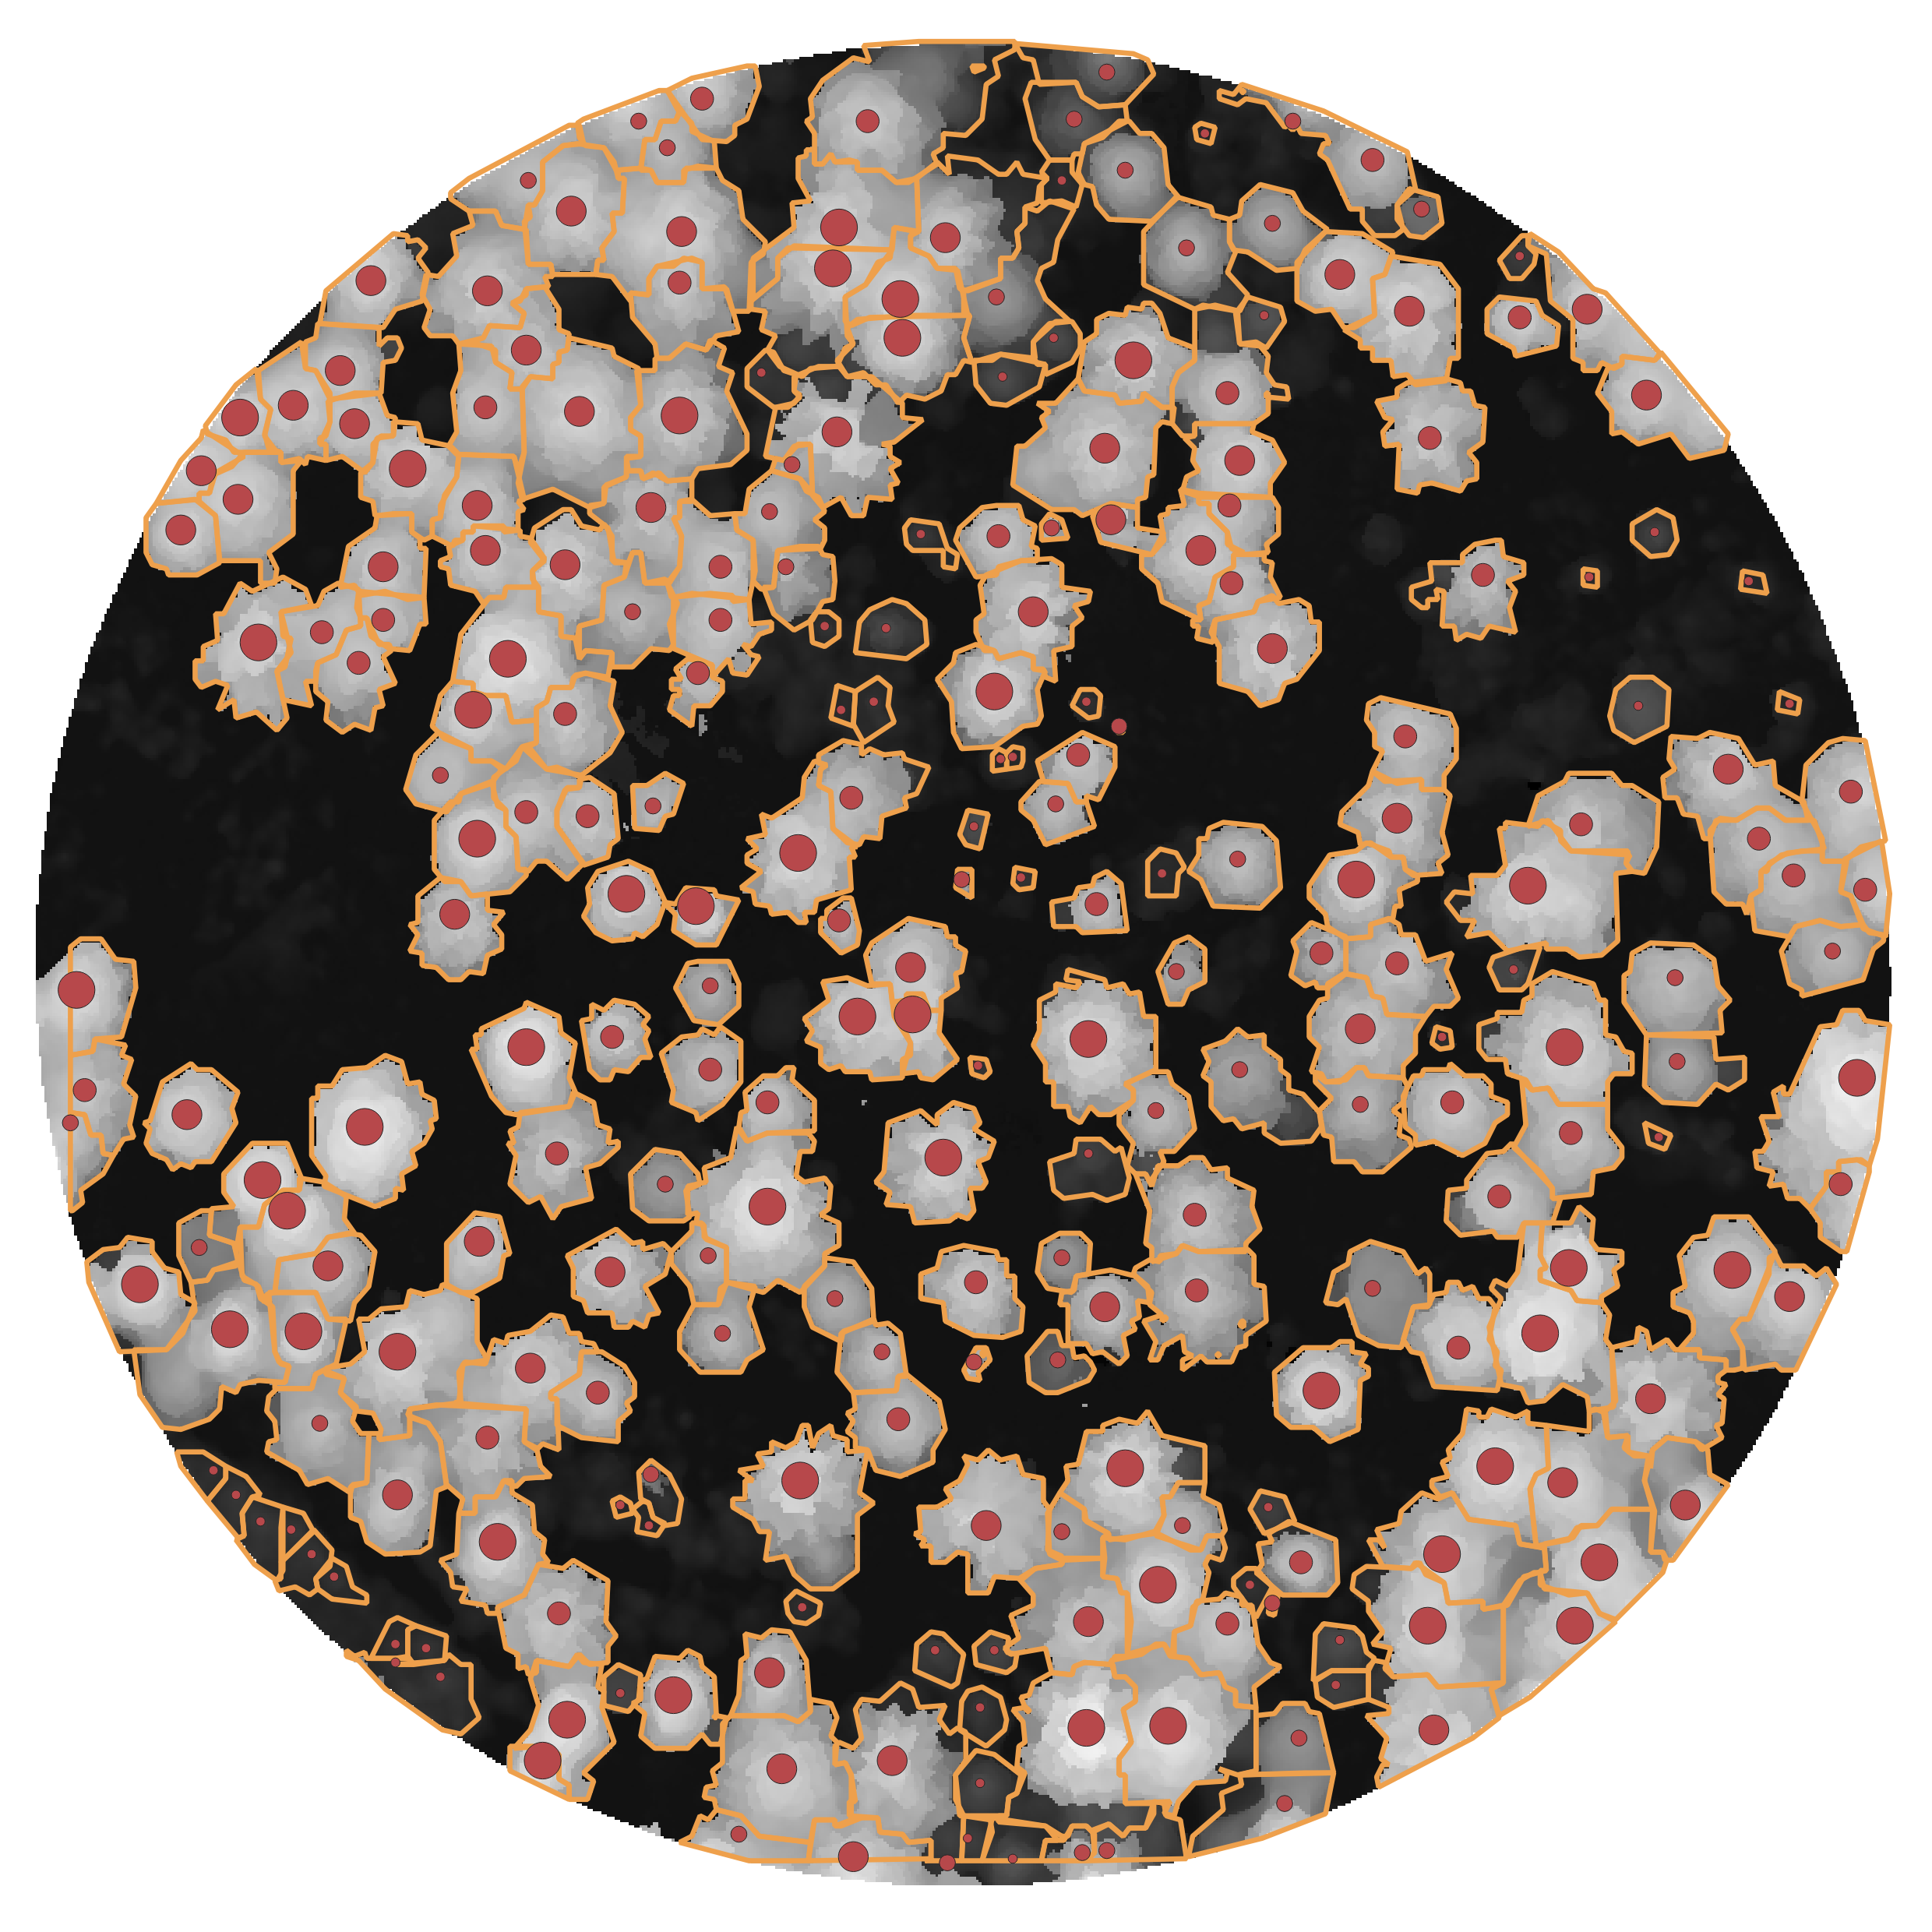
The detected trees all have a height attribute extracted from the CHM. The heights were used to size the tree points in the visualization above.
The geometric tree detection algorithm can be parameterized in many different ways. For example, the value passed to raster-blur-sigma controls the amount of smoothing applied to the CHM before detecting local maxima. The values given for a, b, and c in the tree-top-detector-kwargs affects the local maximum search radius relative to the height of the tree. Other parameters not supplied here (and thus using their defaults) include chip_size and chip_stride, which control how large CHMs are split up into manageable chunks prior to processing, and resolution, which controls the resolution the CHM is resampled to prior to running the algorithm. See the Tree Detection Framework documentation for a detailed description of all parameters. Here is an example of the effect of setting the treetop detector parameter c to 5.
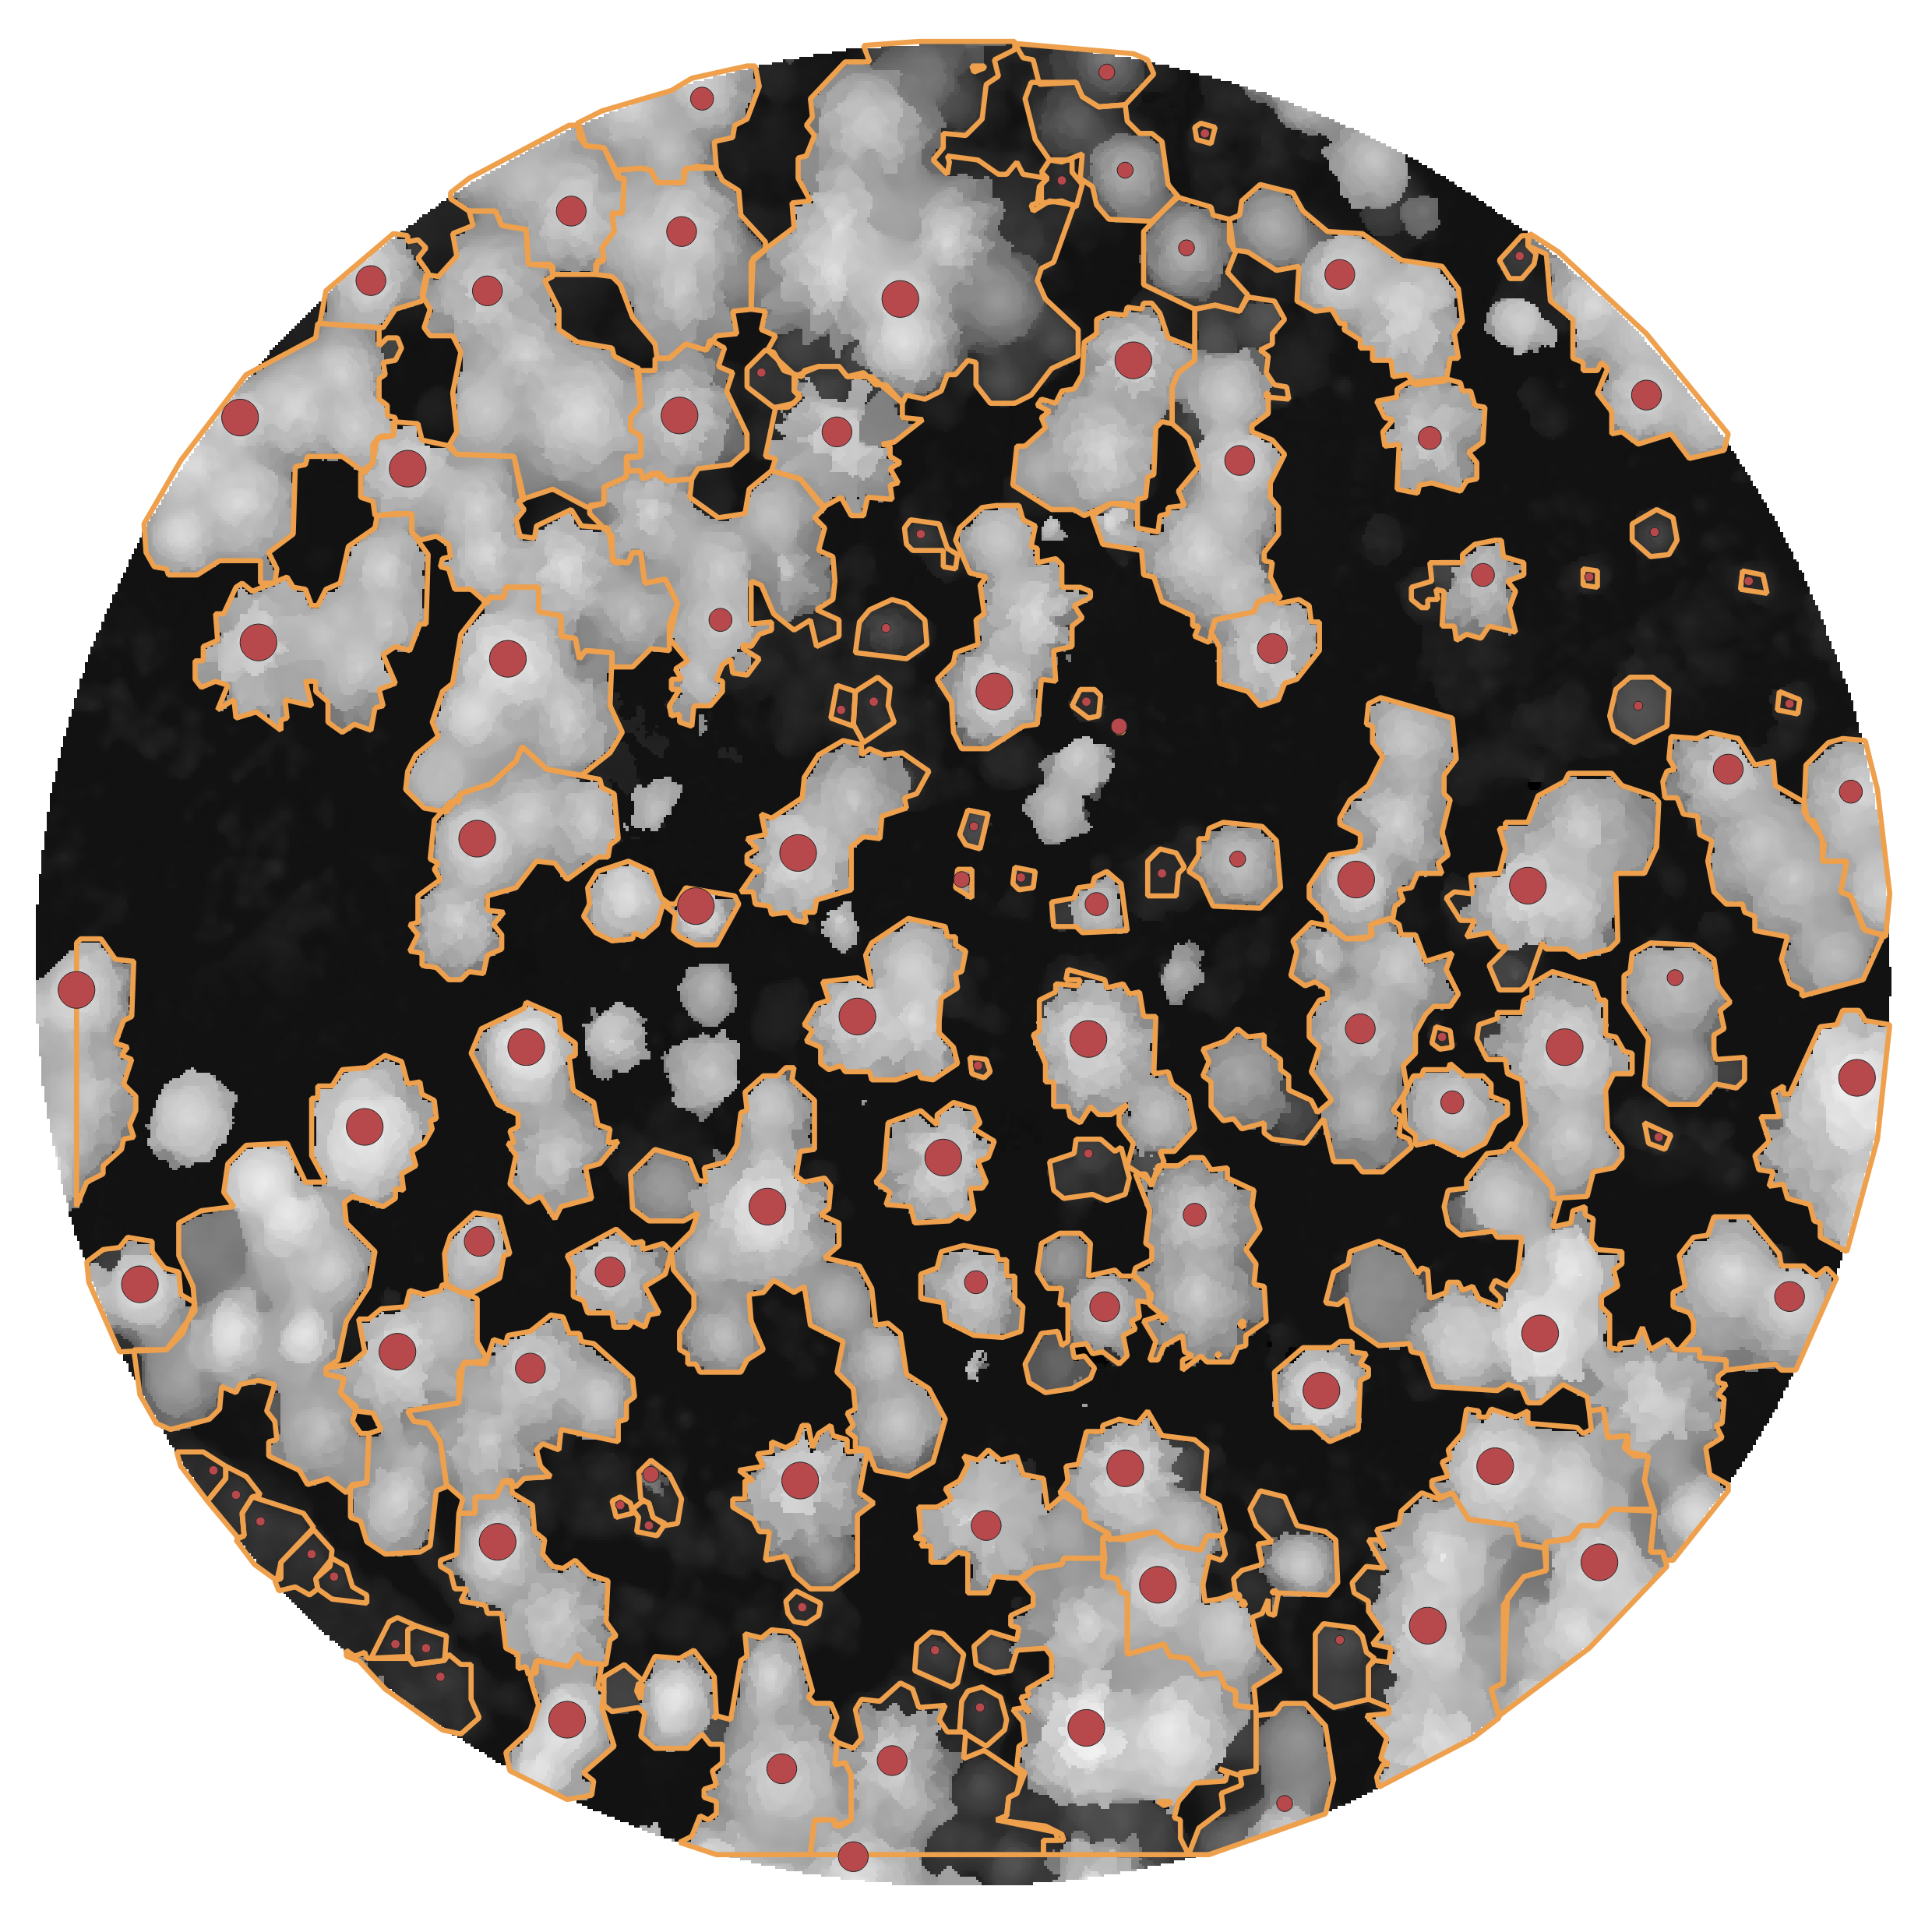
The Open Forest Observatory has done extensive testing of the geometric tree detection algorithm and has found that the default parameters used here work well in many California conifer forests. Some of our parameter tuning work is published in Methods in Ecology and Evolution , and other work is in progress.
Computer vision tree detection from an orthomosaic
The Tree Detection Framework also provides an interface to several existing computer vision models for detecting trees from an orthomosaic. These models run fastest when a GPU is available, but some can also run on a CPU in a reasonable amount of time, particularly for small orthomoaics.
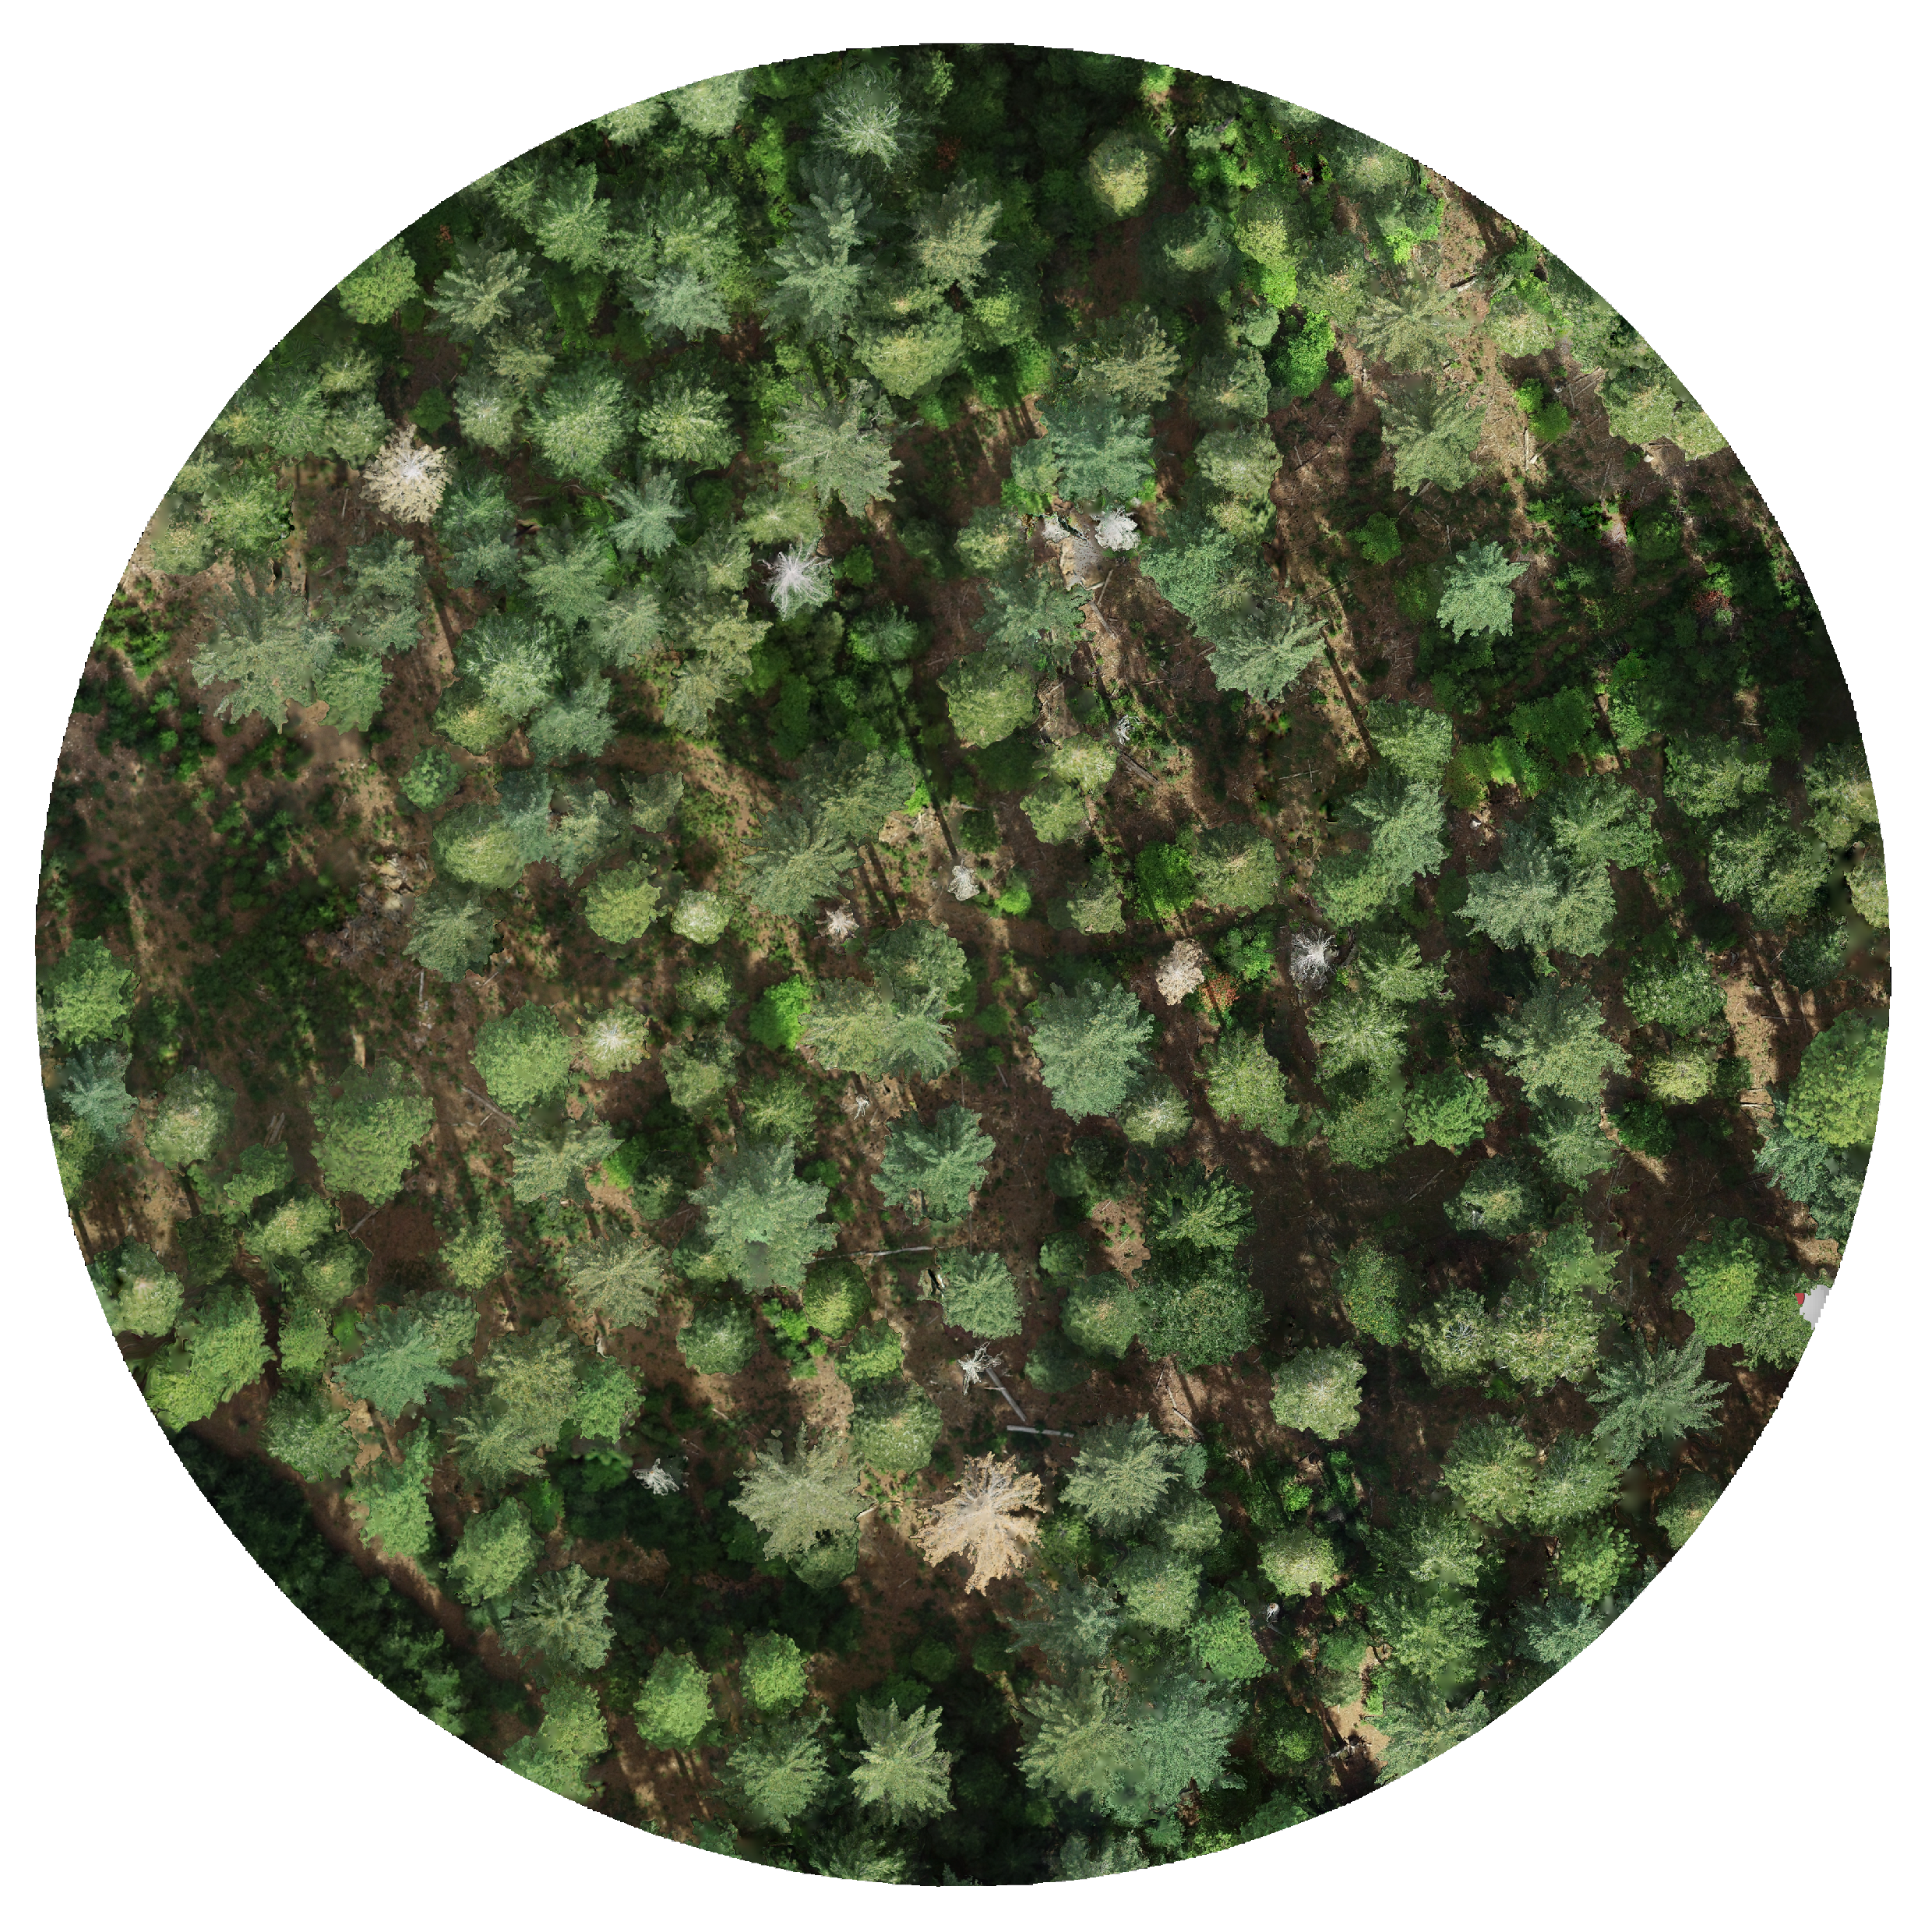
We will first demonstrate using it to run DeepForest on the orthomosaic linked above:
Running without a GPU
If you are running this on a machine without a GPU, remove --gpus all from the docker run command below.
Linux/Mac:
#TODO: Fix this the need to define the cache folders and eliminate need to use $HOME so we can set it to `path/to/data`
mkdir -p "$HOME/ofo-tutorial-testing/.cache"

docker run --rm --gpus all --user "$(id -u):$(id -g)" \
    -w /data \
    -e HOME=/data/.cache \
    -e TORCH_HOME=/data/.cache/torch \
    -e MPLCONFIGDIR=/data/.cache/matplotlib \
    -v "$HOME/ofo-tutorial-testing:/data" \
    ghcr.io/open-forest-observatory/tree-detection-framework:latest \
    python -m tree_detection_framework.entrypoints.generate_predictions \
        --raster-folder-path /data/inputs/photogrammetry-postprocessed/full/composite1_ortho-dsm-ptcloud.tif \
        --tree-detection-model deepforest \
        --chip-size 1024 \
        --chip-stride 768 \
        --resolution 0.05 \
        --run-nms \
        --predictions-save-path /data/outputs/detected-trees/composite1_tree-crowns_deepforest_v01.gpkg
Windows:
This step is performed by lines XX-YY (TODO) of the Jupyter notebook {TODO: Link to notebook}.
This step saves a geospatial file of polygons (rectangles) representing the bounding boxes of detected tree crowns. You can visualize these outputs in GIS software like QGIS:
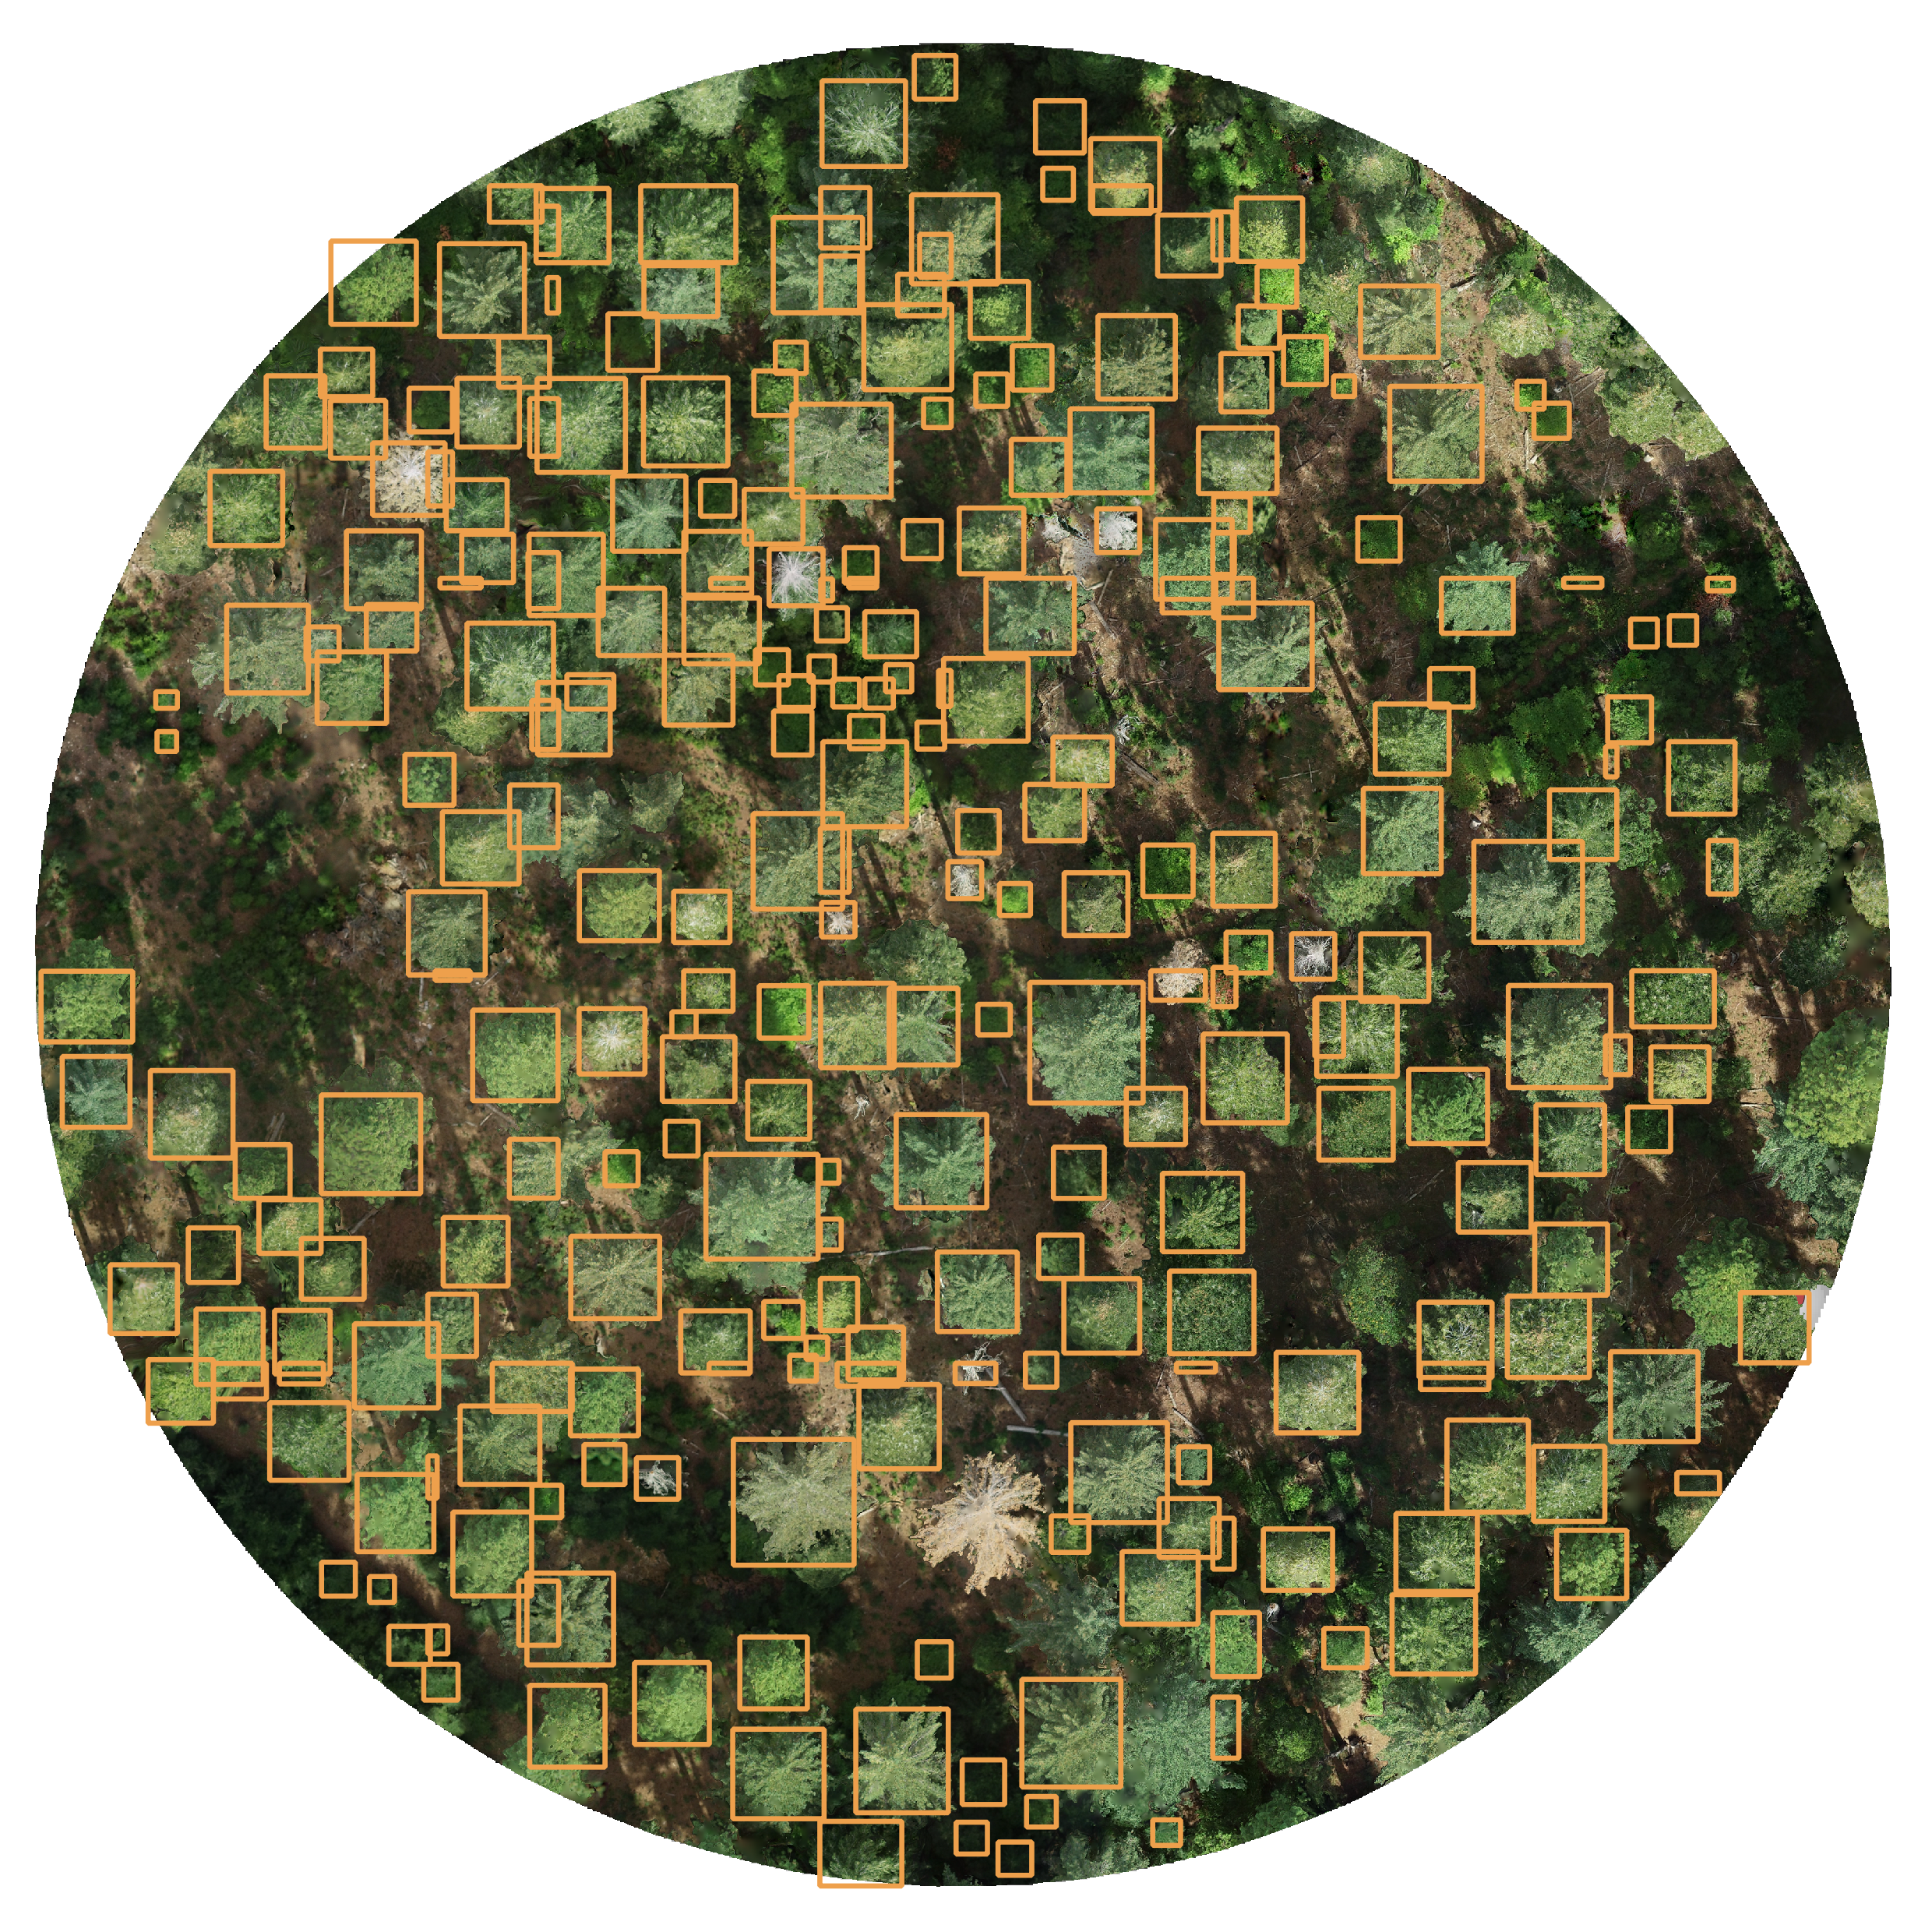
The rectangle bounding box output format is specific to the DeepForest model. TODO: Demonstration of converting them to masks/centroids with heights?
TODO: A few sentences on the parameters including the units (pixels or meters), roughly following the pattern in the geometric detection section above. Possibly a vis of the effect of changing the params and/or a schematic of the concept of chip size and stride.
TODO: Brief text on the benefits of TDF, including comparing TDF vs. running the different models independently.
TODO: Table of supported models.
To run detections using an alternative model, simply change deepforest above to the name of the model you want to use. For example, here we have changed it to detectree2. (TODO: Add visualization of Detectree2 output.)
TODO: The above (running the entrypoint for Detectree2) gave me the error below and I had to fix it by adding -w /data \ to the docker command. Can we avoid needing this? Possibly this is due to me running it in WSL.
TODO: Also even with this fix it errored, as detectree2 appears to require a GPU, do we know that and can we avoid it?
Traceback (most recent call last):
  File "/usr/lib/python3.10/runpy.py", line 196, in _run_module_as_main
    return _run_code(code, main_globals, None,
  File "/usr/lib/python3.10/runpy.py", line 86, in _run_code
    exec(code, run_globals)
  File "/app/tree_detection_framework/entrypoints/generate_predictions.py", line 275, in <module>
    generate_predictions(**args.__dict__)
  File "/app/tree_detection_framework/entrypoints/generate_predictions.py", line 135, in generate_predictions
    dtree2_module = Detectree2Module(param_dict)
  File "/app/tree_detection_framework/detection/models.py", line 196, in __init__
    self.cfg = self.setup_cfg(**self.param_dict)
  File "/app/tree_detection_framework/detection/models.py", line 270, in setup_cfg
    Path(cfg.OUTPUT_DIR).mkdir(parents=True, exist_ok=True)
  File "/usr/lib/python3.10/pathlib.py", line 1175, in mkdir
    self._accessor.mkdir(self, mode)
PermissionError: [Errno 13] Permission denied: 'train_outputs'
UserWarning: cannot import name '_C' from 'sam2' (/usr/local/lib/python3.10/dist-packages/sam2/__init__.py), not sure if this is due to the lack of a GPU or if it is a separate issue. Have not yet tried running it on a GPU.
TODO: Demonstration of how to get SAM3 weights and run SAM3?
For full description of the TDF computer vision tree detection module and its options, see the Tree Detection Framework documentation.